Welcome Banner
The welcome banner plugin allows you to create dynamic, customizable image banners that are sent when new members join your server. These banners can include the member's avatar, custom text, images, and various design elements.
Overview
Welcome banners are image-based welcome messages that provide a visually appealing way to greet new members. The banner editor is a canvas-based tool that lets you design banners with drag-and-drop elements.
Enabling Welcome Banners
To enable welcome banners, navigate to your server's Join Messages page on the dashboard. You'll find the banner options in the message configuration section.
- Enable the Welcome Banner toggle
- Choose your banner type (Normal or Animated)
- Use the banner editor to customize your design
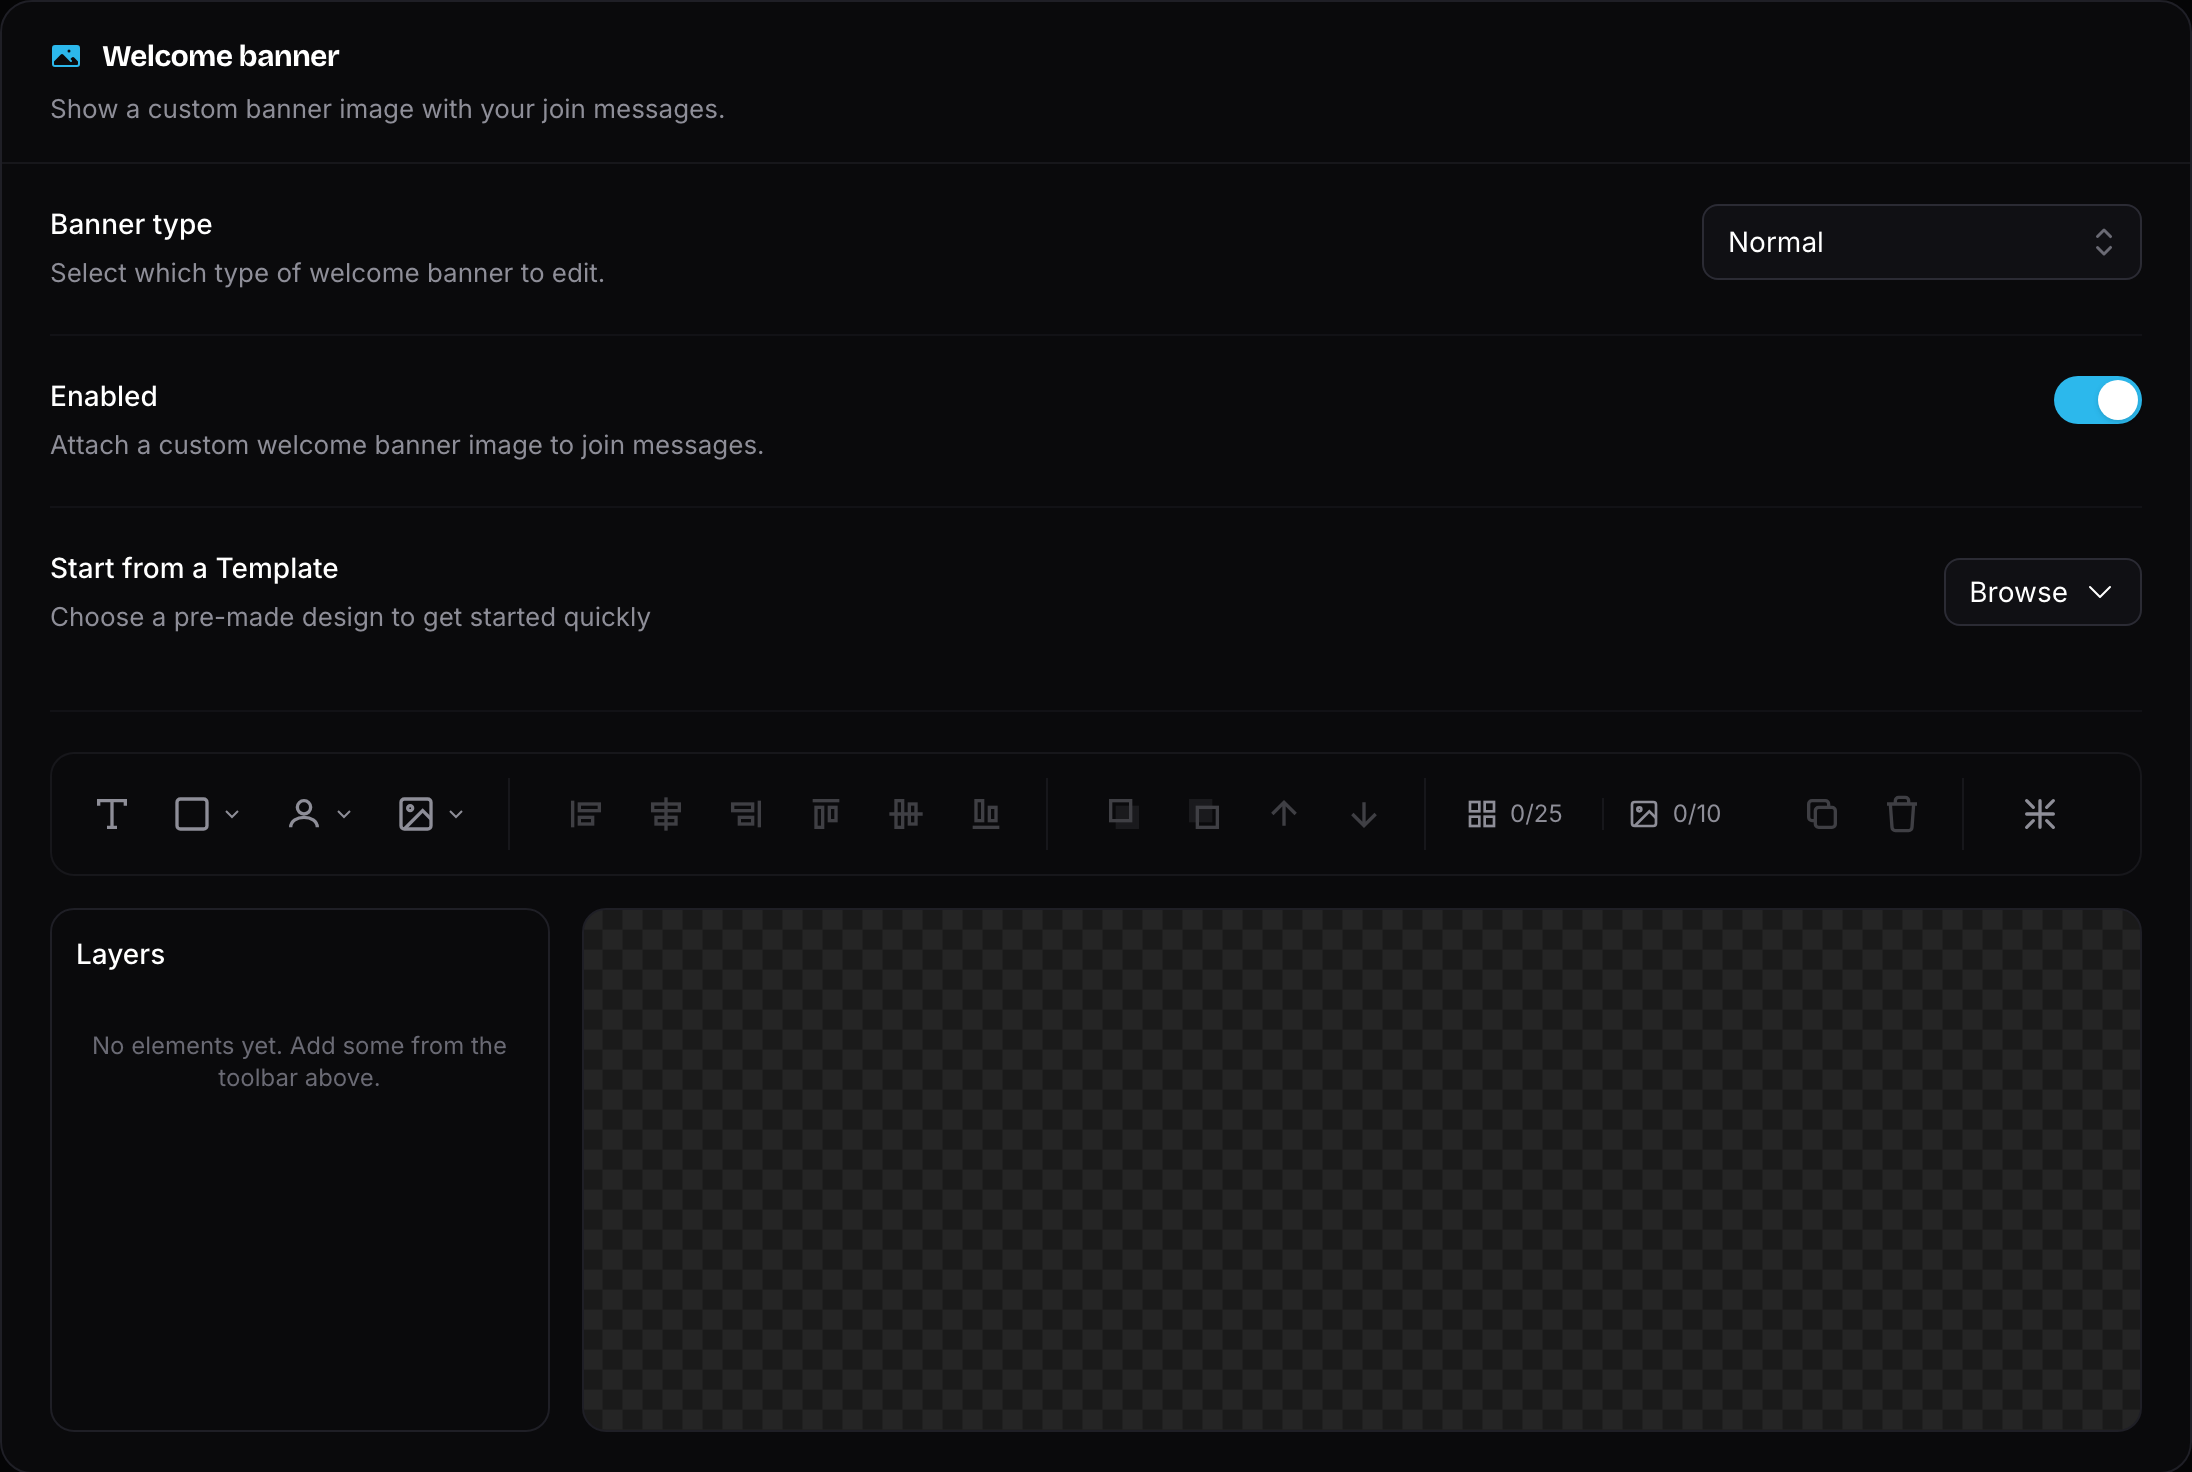
Banner Editor
The banner editor provides a visual canvas where you can add and arrange elements to create your perfect welcome banner.
Elements
You can add various elements to your banner:
- Text Elements - Add custom text with variables like
%member%,%guild_name%, etc. - Images - Upload custom images or use placeholders
- Shapes - Add rectangles, circles, ellipses, and triangles
- Avatar Placeholders - Display the joining member's avatar, inviter's avatar, or server icon
Working with Elements
- Adding Elements - Click the add button to insert new elements
- Positioning - Drag elements to position them on the canvas
- Resizing - Use the handles to resize elements
- Layering - Arrange elements in front of or behind other elements
- Deleting - Select an element and delete it

Avatar Placeholders
You can add dynamic avatar placeholders that automatically display:
| Placeholder | Description |
|---|---|
| Member Avatar | The joining member's Discord profile picture |
| Inviter Avatar | The avatar of the person who invited the member |
| Server Icon | Your server's icon/logo |
Text Customization
Text elements support the same variables used in regular join messages. Common variables include:
%member%- The member's display name%member_name%- The member's username%guild_name%- The server name%inviter%- The inviter's display name%member_count%- The server's member count
TIP
See the full list of available variables on the Variables page.
Templates
The banner editor includes a template carousel with pre-built designs you can use as a starting point. Browse through the available templates and click to apply one to your banner.

INFO
Templates provide a quick starting point. You can fully customize any template after applying it.
Free vs Premium Features
Free Tier Limits
| Feature | Free Limit |
|---|---|
| Maximum Elements | 6 |
| Maximum Images | 1 |
| Available Shapes | Rectangle only |
| Available Fonts | 8 basic fonts (Inter, Open Sans, Roboto, Poppins, Merriweather, Arvo, Roboto Mono, Ubuntu Mono) |
| Text Rotation | Not available |
| Gradients | Not available |
| Image Blur | Not available |
 Premium Features
| Feature | Premium Limit |
|---|---|
| Maximum Elements | 50 |
| Maximum Images | 10 |
| Available Shapes | Rectangle, Circle, Ellipse, Triangle |
| Available Fonts | All fonts available |
| Text Rotation | Available |
| Gradient Fills | Linear and Radial gradients |
| Image Blur | Available |
Shape Options
Shapes can be customized with:
- Solid Colors - Pick any color using the color picker
- Gradients - Create linear or radial gradient fills
Available Shapes
| Shape | Free | Premium |
|---|---|---|
| Rectangle | Yes | Yes |
| Circle | No | Yes |
| Ellipse | No | Yes |
| Triangle | No | Yes |
Image Effects
Blur Effect
Premium users can apply blur effects to images, which is useful for creating background effects or focusing attention on specific elements.
Best Practices
- Keep it readable - Ensure text is large enough and has sufficient contrast against the background
- Use high-quality images - Upload clear, high-resolution images for the best results
- Test your banner - Preview how your banner looks before going live
- Consider mobile users - Some details may be hard to see on smaller screens
- Use avatar placeholders - Dynamic avatars make banners feel more personalized
TIP
The member's avatar placeholder is a great focal point for welcome banners as it personalizes each welcome message.
Troubleshooting
Banner not appearing
- Ensure the welcome banner feature is enabled
- Check that Invite Tracker has permissions to send messages and embed links in the welcome channel
- Verify that join messages are enabled for your server
Images not uploading
- Check that your image is in a supported format (PNG, JPG, GIF)
- Ensure the file size is within the allowed limits
- Try using a different browser if issues persist
WARNING
Welcome banners require additional processing time compared to text-only messages. There may be a slight delay before the banner appears.